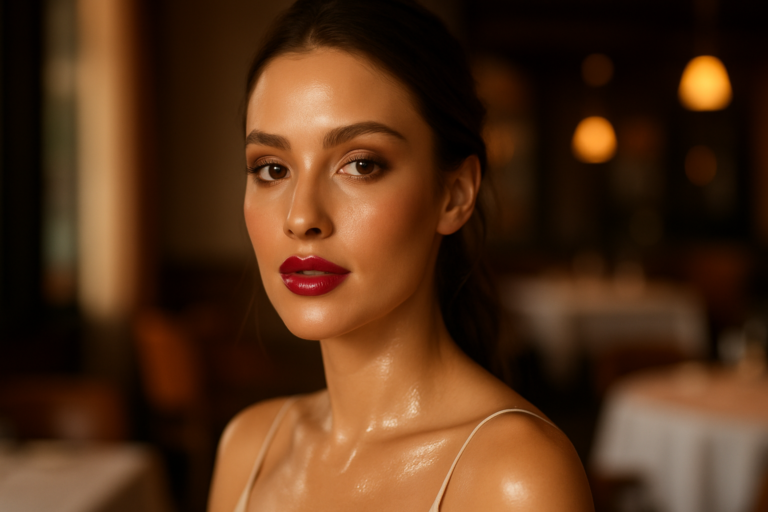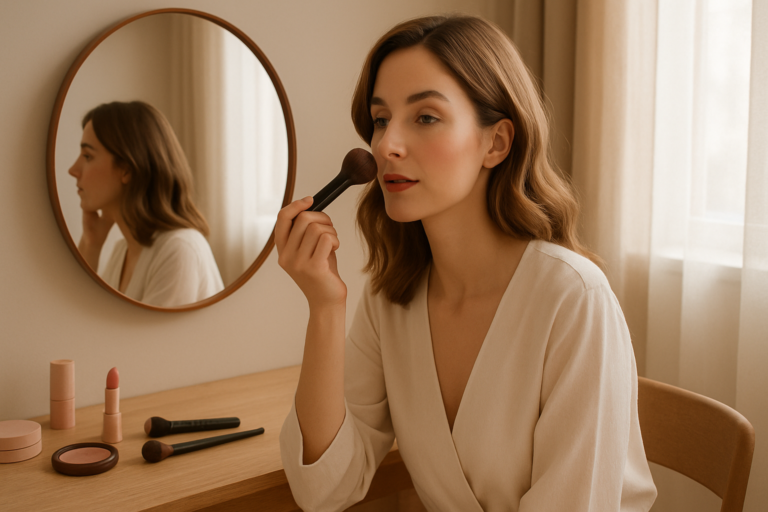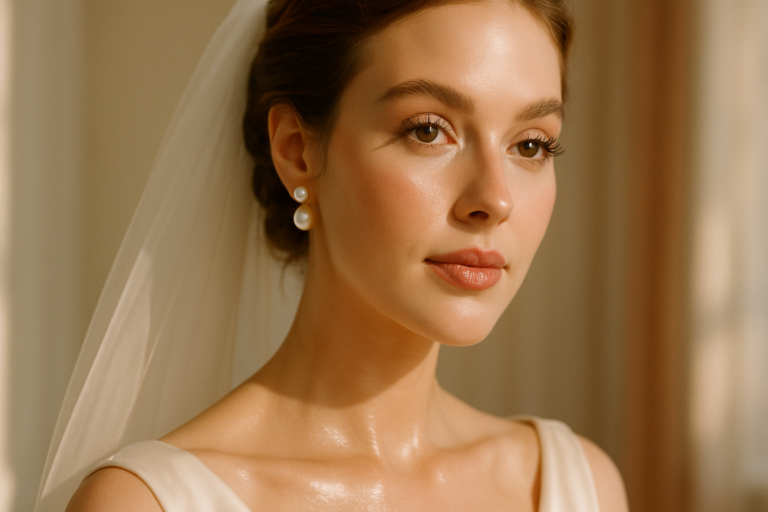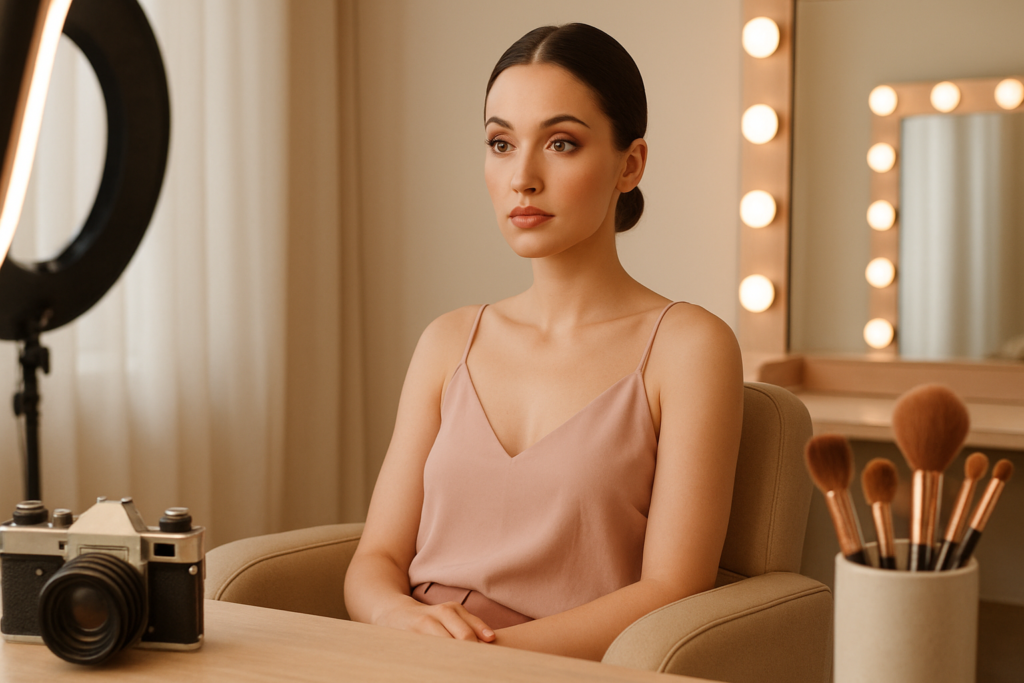
Most makeup looks good in person and bad in photos. The reverse is true for professional editorial work — it looks slightly heavy in person but perfect in photos. The reason is that cameras see makeup differently than human eyes, and the techniques that work on camera are specifically designed to address that difference.
If you’re going to be photographed (wedding guest, professional headshots, family portraits, content creation, or paid work as a makeup artist), here’s what actually translates well on camera.
What cameras do that eyes don’t
Three things that cameras do which change how makeup reads:
1. Cameras flatten three-dimensional depth. Light and shadow that the human eye registers as “contour” on a face often disappears when the face is photographed. This is why under-eye darkness photographs darker than it looks in person, and why subtle highlighter often disappears entirely.
2. Camera flash hits flat-on, eliminating natural shadows. This is why flash photography can make a beautifully sculpted face look pancake-flat. The contour that worked in natural light is invisible under flash.
3. Cameras emphasise texture. Any unevenness, dryness, pore, fine line, or settled foundation that the eye softens, the camera amplifies. Skin texture issues that are invisible in person become obvious in photos.
The pro techniques below specifically address these three camera characteristics.
The 8 photograph-ready techniques
1. Use slightly more product than feels right in person
This is counterintuitive. Photographic makeup is typically 20-30% heavier than what looks “right” in the bathroom mirror. Reason: the camera will read most of that intensity as “normal” because of flattening.
If your makeup looks slightly too much in person, it’ll photograph as just right. If it looks perfect in person, it’ll photograph as slightly washed out.
This is why professional bridal artists’ work sometimes looks “heavy” to the bride at the trial — and then looks perfect in the wedding photos. The artist isn’t doing too much; they’re doing the right amount for the camera.
2. Avoid SPF that ghosts under flash
This is one of the biggest hidden issues in photographed makeup. Many physical sunscreens (containing titanium dioxide or zinc oxide) cause a white cast under flash photography. The face looks normal in person but appears chalky or pale in photos.
For events you’ll be photographed at:
- Use a chemical sunscreen instead of physical, OR
- Use a “flashback-free” SPF specifically formulated for photography, OR
- Skip SPF in your final layer (only acceptable if the event is indoors with no UV exposure)
Tested for no flashback: Beauty of Joseon Relief Sun, La Roche-Posay UVMune 400, Supergoop Unseen Sunscreen.
Will flashback: Most American “mineral” sunscreens, anything that’s chalky white in the tube.
3. Avoid heavy powder, especially under eyes
Powder creates light-reflecting particles that flash bounces off. Heavy powder = ghostly under-eye area in flash photos.
For photographed makeup:
- Use only the smallest amount of powder in the t-zone
- Skip powder entirely under eyes
- Use setting spray as your finishing layer instead of overall powder
4. Build dimension with cool taupe-grey, not brown contour
Brown contour photographs as muddy or dirty. Cool taupe-grey reads as actual shadow on camera, which is what you want.
This is one of Paula Callan’s most-taught techniques and the single biggest contour upgrade for photographed makeup. Replace your brown bronzer/contour with a cool taupe-grey shade in the hollows of cheeks, sides of nose, and jawline.
5. Strengthen the brows
Eyebrows are the single facial feature most diminished by camera flattening. Brows that look “perfect” in person often look sparse and uncertain in photos.
For photographed makeup, brows should be:
- Slightly fuller than your natural shape
- Slightly more defined at the arch and tail
- With visible hair-like strokes that translate through the photo
The bride who wants her brows to look natural in photos actually needs them MORE filled than she’d choose for personal wear.
6. Define the under-eye more than feels necessary
Dark circles photograph as darker than they appear. Even good-skin clients need additional concealer for photos because:
- Camera flash creates downward shadow under the eye
- Cameras amplify any blue/purple cast under eyes
- Settling concealer becomes visible immediately on camera
For photographed makeup, apply concealer in a slightly larger triangle than feels needed, set lightly, and don’t apply too much (heavy concealer creases and emphasises the shadow).
7. Add a touch of strategic shine
Counterintuitive for camera-ready makeup, but crucial: total matte photographs as flat and dead. Strategic shine creates dimension that the camera sees as life and youth.
Where to add shine:
- Top of cheekbones
- Centre of eyelids
- Bow of the upper lip
- Inner corners of eyes
- Bridge of nose
What to use: liquid highlighter, illuminating drops in foundation, or a small amount of cream highlighter pressed onto these spots.
Avoid: All-over highlight, which will read as oily on camera. Strategic placement only.
8. Lip definition that doesn’t disappear
Lipstick photographs significantly less intense than it looks in person. A nude lip that reads as “neutral” in the mirror often photographs as if the person has no lip colour at all.
For photographed makeup, choose lip colours that are:
- One shade deeper than what you’d choose for everyday
- With slightly stronger pigment
- Defined with lip liner that’s also visible (helps maintain shape under the camera’s flattening effect)
Learn this from Paula Callan
30 years training celebrity makeup artists. 7 hours of video tutorials, lifetime access, 60-day money-back guarantee. €149.
Different photo contexts, different adjustments
The “right” photographed makeup varies by context:
Professional headshots (corporate, LinkedIn, business)
- More polished, slightly more makeup than personal everyday
- Neutral palette only — no trendy colours
- Skip dramatic eye looks
- Lip colour should be flattering and natural (not statement red)
- Skin should look genuinely good, not over-airbrushed
Wedding guest photos (yours)
- Slightly more dramatic than headshots — you want to look festive
- Bolder lip is fine
- Defined eye look is fine, but keep it elegant not heavy
- Consider colour-blocking to balance dramatic eye OR dramatic lip — not both
Family portraits
- Soft, flattering, age-appropriate
- Avoid trendy techniques that will look dated in 5 years
- Focus on healthy-skin appearance rather than dramatic makeup
Content creation / professional photography
- Heaviest of all categories
- Use professional photography lighting if available
- Test on camera before the actual shoot
- Multiple touch-ups during long sessions
Bridal (you’re the bride)
- Most elaborate makeup of any context
- Tested at the trial in actual wedding-day lighting
- Designed to photograph well under multiple lighting conditions (indoor, outdoor, evening)
- Includes longwear technique for 10+ hour wear
What to test before the actual photographs
If you’re a working makeup artist or aspiring one preparing a client for photos, do this test before the actual event:
1. Apply the full makeup look in the artist’s working lighting
2. Take a flash photo of the client’s face on a smartphone
3. Check for:
– White cast (SPF flashback)
– Settled concealer or foundation (settled into lines)
– Patchy blush or contour
– Disappearance of brows
– Diminished lip colour
If any of these appear in the test photo, adjust before the real event.
For self-applied makeup before a photographed event, do the same test in your bathroom 30 minutes before leaving. Better to fix issues now than discover them in the photos later.
Get the Becoming a Makeup Artist guide
The honest career roadmap — training options, realistic timelines, first-kit budgets, and how to know if this path is right for you.
The bottom line
Camera-ready makeup is different from in-person makeup, and the differences are measurable: about 20-30% more intensity overall, with strategic adjustments for flash flashback, brow definition, lip pigment, and the cool-taupe contour technique.
Working artists know this and adjust automatically. Consumers usually don’t, which is why their photos disappoint them even when their makeup looks great in the mirror.
The most important single change: replace brown contour with cool taupe-grey. This single adjustment improves how photographed makeup looks more than almost anything else.
The full system, with demonstrations under different lighting conditions, is one of the strongest modules in the Paula Callan Masterclass. For anyone who’s been frustrated that their makeup looks great until they see the photos, it’s worth the investment.