Most articles about “makeup mistakes that age you” focus on the obvious things — heavy foundation, harsh contour, frosty shimmer. Those aren’t wrong, but they’re not the real problem. After watching close friends, family members, and clients fall into these traps, I’ve identified five smaller, sneakier habits that age the face far more than anything dramatic. Each one has a fix that working makeup artists use routinely but consumer tutorials rarely explain.
None of these require throwing out your favourite products. All of them are fixable today.
Mistake #1: Setting powder everywhere
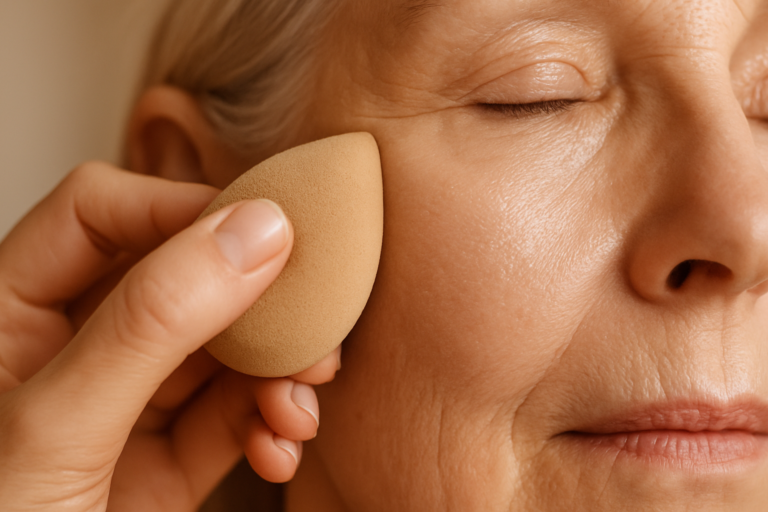
Powder is doing too much in most routines. When you dust translucent powder over your entire face, you’re flattening every dimension light would otherwise create. Light bounces off skin in interesting ways — that’s what makes a face look alive. Powder absorbs that light. The result reads as flat, matte, and weirdly older than skin with some natural sheen.
This is one of the first things professional artists adjust when working on mature skin. On clients in their 40s and 50s, powder gets reserved for the t-zone only — never the cheeks, never the under-eye, never the jawline.
The fix: Powder only the centre panel — t-zone, between the brows, top of the chin. Leave the outer cheeks, temples, and jawline untouched. You’ll get oil control where you actually need it, and your face will catch light where it should. If you’re doing makeup on someone else, this is the single most useful adjustment you can make for clients over 40.
Mistake #2: The wrong shade of concealer
This is the most common mistake I see on women in their 40s and beyond, and on the clients new makeup artists work on. Going too light under the eyes does not brighten — it creates a stark contrast against the rest of the face that ages dramatically. The fluorescent under-eye that people associate with old YouTube tutorials is exactly this.
Professional artists match concealer to foundation almost exactly, sometimes only a quarter-shade lighter. The brightness comes from technique — placement, blending, and finishing — not from a lighter product.
The fix: Your under-eye concealer should be no more than half a shade lighter than your foundation. If you’ve been going two or three shades lighter, you’re actually drawing attention to the darkness rather than hiding it. The under-eye is also one area where peach-toned concealer outperforms yellow-toned for most skin — peach neutralises the blue-purple cast that creates darkness, while yellow just adds light without addressing the colour.
Learn this from Paula Callan
30 years training celebrity makeup artists. 7 hours of video tutorials, lifetime access, 60-day money-back guarantee. €149.
Mistake #3: Pencil-thin eyebrows
I know. We grew up with the 1990s. The thin-brow muscle memory is real. But thin, sharply drawn-on brows age the face more than almost anything else you do above the cheekbones. They cut the upper face in half visually, and they read as dated the moment someone glances at you.
Working bridal artists fight this constantly. A bride who’s been over-plucking her brows for 30 years arrives expecting them to be filled in the same thin shape she’s used to. The artist has to gently rebuild the brow shape using individual hair-like strokes that follow natural growth direction, often surprising the client with how much fuller it can look without seeming drawn-on.
The fix: Use a fine brow pencil to draw individual hair-like strokes, not a single line. Keep the front of the brow soft (almost no product there) and let the colour build only towards the arch and tail. The goal is “she has brows,” not “she drew brows on.” If you’re doing this for someone else, get them to look at their face in the mirror with the brows softly built up — most women have never seen themselves with fuller brows and the result feels strange before it feels right.
Mistake #4: Matte everything
At some point in the last decade, “mattifying” became a synonym for “professional” in beauty marketing. The result: an entire generation of women using matte foundation, matte lipstick, matte everything. On older skin, matte reads as drying, and drying reads as ageing.
This is why professional makeup looks for photography are usually NOT matte — even though photographs supposedly require it. Editorial and bridal artists build dimension with strategic shine, then powder selectively. The matte areas are intentional, not universal.
The fix: Choose one matte zone — usually lips or t-zone — and let everything else have some sheen. A satin foundation, a creamy blush, a glossy eyelid, a balmy lip. Light catching skin equals youth. Light absorbed by matte equals older. This is the rule professionals work by.
Mistake #5: Blush in the wrong place
If you learned makeup in the 1990s or early 2000s, you were probably taught to put blush on the apples of your cheeks. That advice doesn’t age well — literally. As faces mature, the apples of the cheeks fall slightly. Applying blush there pulls the face down visually.
Working artists usually place blush higher and more diffused than consumer tutorials show. The technique is to find the cheekbone with your fingers, place the blush along the bone (not below it), then sweep up and out toward the temple.
The fix: Apply blush higher on the cheekbones, closer to the temples. Smile, find the apple, then sweep up and out toward your hairline. You’re lifting the face, not weighing it down. On mature skin specifically, cream blush works better than powder — it integrates into the skin rather than sitting on top of fine lines.
Get the Becoming a Makeup Artist guide
The honest career roadmap — training options, realistic timelines, first-kit budgets, and how to know if this path is right for you.
The pattern
If you look at all five mistakes together, you’ll notice a pattern. They’re all about flatness — flat coverage, flat colour, flat shape. The aged-makeup look is the flat-makeup look. The youthful-makeup look is dimensional, lit, slightly varied.
This is what Paula Callan teaches in her masterclass that most consumer beauty content gets backwards: makeup at its best suggests light. It doesn’t paint colour onto a face. It catches the eye where you want it caught. Once you understand that, half the mistakes above stop happening naturally — whether you’re doing your own face or a client’s.
None of these fixes require buying anything new. They’re all about doing what you’re already doing, slightly differently. If you’re a working artist or an aspiring one, the same five fixes are what separate professional-looking work from technically-correct-but-flat work. Try one this week and see what changes.
If you want this taught properly, with full demonstration of WHY each technique works on different face types, Paula Callan’s masterclass is the single best entry point I’ve found. Both for your own makeup AND for client work.