Most foundation advice for mature skin is wrong, or at best, incomplete. The issue isn’t usually the product. It’s the technique — and the prep underneath. Working makeup artists figure this out quickly because they apply foundation to dozens of mature faces a year. Consumers can spend a decade buying expensive foundations that keep “settling” without realising the foundation is fine; the application isn’t.
Here’s what actually works on mature skin, whether you’re applying it on yourself or on a client.
What “mature skin” actually means for foundation
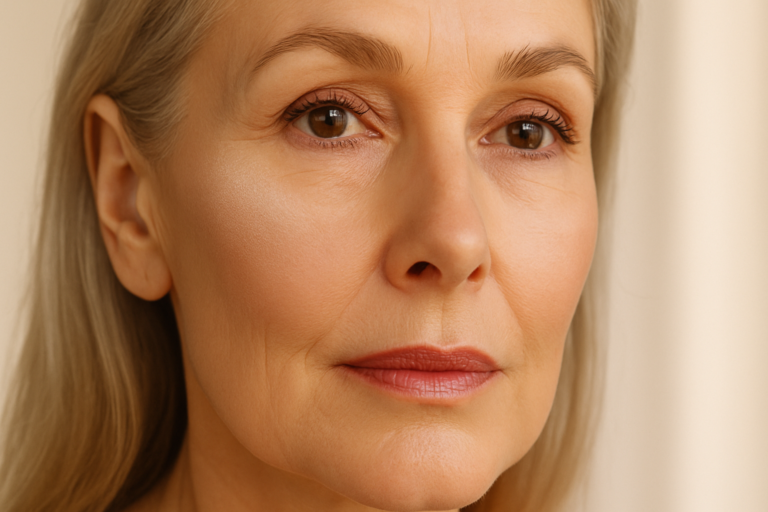
The term gets thrown around vaguely. Specifically, here’s what changes about skin after roughly 40 that matters for foundation:
- Less natural oil production — skin trends drier, foundation has less to grip onto
- Looser texture — fine lines and folds appear, foundation can pool in them
- Uneven tone — sun spots, redness patches, broken capillaries become more visible
- Thinner skin — coverage that looked natural at 30 can look mask-like at 50
- Slower cell turnover — dead skin builds up faster, foundation looks rough on top
The foundations marketed specifically for “mature skin” aren’t always the right answer. Many are too thick. What you actually need is the right finish, the right amount, and the right application — usually with a foundation that wasn’t specifically marketed to your demographic.
The three foundation finishes that work on mature skin
There are roughly three good options. Each suits a different skin type within “mature.”
Satin foundations (the safest choice)
A satin finish — not matte, not dewy — works on the broadest range of mature skin. It has just enough sheen to make skin look alive, but enough hold that it doesn’t slide around.
Examples to try: Charlotte Tilbury Beautiful Skin Foundation, NARS Sheer Glow, Hourglass Vanish Seamless Finish (lightweight), L’Oreal True Match (drugstore option that genuinely competes).
Skin tints (for naturally good skin)
If your skin is in decent condition and you just want evening-out, skin tints give the most natural finish. They’re not full coverage by design. The result reads as “skin, but better.”
Examples: Ilia Super Serum Skin Tint, Tower 28 SunnyDays Tinted SPF, Bobbi Brown Vitamin Enriched Skin Tint.
Hydrating foundations (for dry mature skin)
If your skin trends dry and the previous categories settle into lines, you need a foundation with humectants and emollients built in.
Examples: Charlotte Tilbury Hollywood Flawless Filter (as a primer-foundation), Armani Luminous Silk, Dior Forever Skin Glow.
What to avoid
Three foundation categories that consistently fail on mature skin:
Heavy full-coverage matte foundations. They cake. They oxidise. They settle into every fine line. Examples: Fenty Pro Filt’r (the original matte), Estee Lauder Double Wear (matte version), most “long-wear” foundations marketed for oily skin.
Anything with strong shimmer particles. The pearl in “luminising” foundations sits in fine lines and emphasises texture. Glow should come from skin prep and finishing products, not from the foundation itself.
Cushion compacts in the wrong shade. The format dries down differently than bottle foundations. Most cushion shades skew slightly cool. Worth testing under daylight, not store lighting.
Learn this from Paula Callan
30 years training celebrity makeup artists. 7 hours of video tutorials, lifetime access, 60-day money-back guarantee. €149.
The pro application technique
This is where most foundation problems get solved. The technique that working artists use on mature skin differs from what you see in most YouTube tutorials. Here’s the actual method:
Step 1: Wait 3 minutes after moisturiser
This is the single biggest change you can make. Most people apply foundation immediately after moisturiser. The moisturiser hasn’t absorbed yet, so it pills under foundation and the foundation slides around for the next 6 hours.
Wait three minutes. Use that time to do brows or pick out clothes. The foundation will behave completely differently.
Step 2: Apply less than you think
Mature skin needs less product, not more. A pea-sized amount of foundation, applied in two thin layers, will outperform one thick layer every time. The first layer evens tone. The second layer (only where needed) handles specific spots — redness, dark spots, broken capillaries.
Trying to cover everything with one thick layer is what creates the cakey, mask-like look.
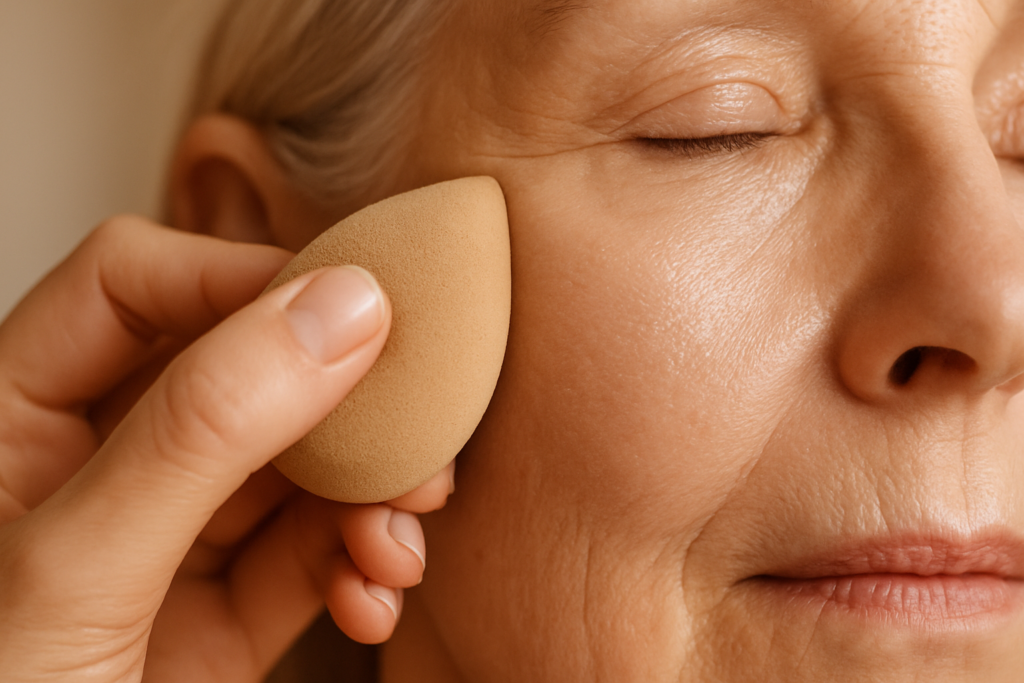
Step 3: Use a damp sponge, not a brush
For mature skin specifically, the damp sponge wins. Reasons:
- The water in the sponge thins the foundation slightly, making it sit closer to skin
- The bouncing motion pushes product into skin rather than dragging it across
- Fine lines don’t get filled with product the way brushes can deposit it
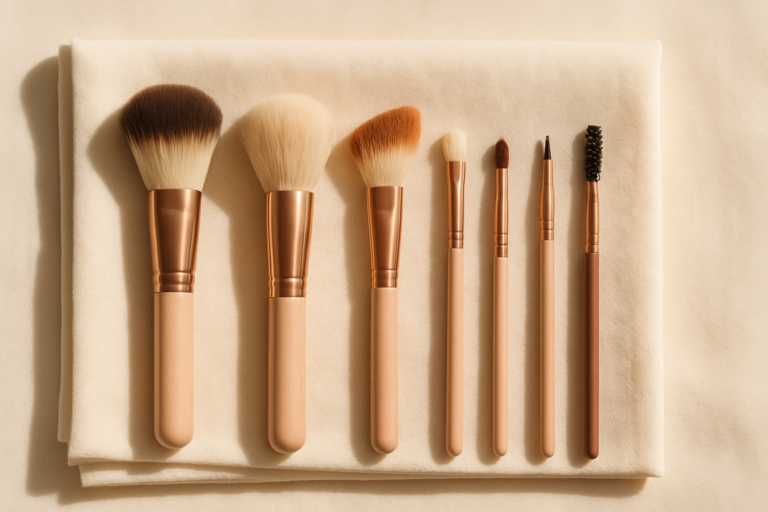
Beautyblender, Real Techniques sponges, or any quality damp sponge works. Wet it under running water, squeeze out completely until it’s just damp.
Step 4: Apply from the centre outward
Start in the centre of the face (forehead, nose, chin) where most colour evening is needed. Work outward toward the hairline and jaw with what’s left on the sponge. Most people apply too much to the perimeter, which is exactly where you want LEAST product on mature skin (the perimeter is where it’ll oxidise or look mask-like first).
Step 5: Set selectively
Powder only the t-zone — never the cheeks, never under eyes, never along the jawline. If you set the whole face, you flatten all the natural dimension you’re trying to preserve.
The shade-matching problem
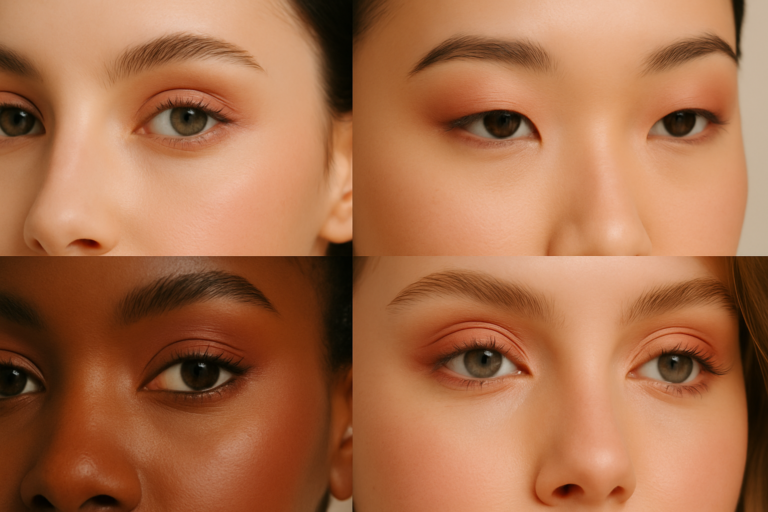
Foundation shade-matching on mature skin is harder than for younger skin because:
- Your face oxidises foundation slightly differently than your jaw
- Your neck is usually a different undertone than your face
- Sun damage can create patches that match only one zone
The pro technique: match foundation to your jaw, not your cheek. Then, if your face has redness, address it with colour-correcting underneath the foundation rather than choosing a foundation shade that hides the redness (which will make the rest of the face look ashen).
For undertone:
- Peach-pink veins = cool undertone, go with foundations labelled “C” or with rose/pink names
- Green veins = warm undertone, go with “W” or golden/honey names
- Mix of both = neutral undertone, go with “N”
Test in daylight, not under store lighting. Most foundation purchasing mistakes happen because Ulta/Sephora lighting is yellow-toned, making everything look warmer than it actually appears in real life.
Get the Becoming a Makeup Artist guide
The honest career roadmap — training options, realistic timelines, first-kit budgets, and how to know if this path is right for you.
What working artists do differently on bridal clients
For paying client work, the technique adjusts slightly for longevity:
- Skin prep is longer. Toner, hydrating essence, serum, moisturiser, primer. Total prep time: 8-10 minutes, not 2.
- Foundation goes on in three thin layers, not two. With 2-3 minutes between each.
- Colour correcting happens between layers. Peach for blue undereye darkness, green for redness, applied between foundation layers rather than under everything.
- Setting spray finishes everything. Not just powder. The spray melds the layers together.
This is roughly the technique Paula Callan teaches in detail. It’s also what makes the difference between bridal makeup that holds 10 hours versus the same products applied “normally” and looking tired by hour 4.
The bottom line
The best foundation for mature skin is usually:
- Satin finish (not matte, not heavily glowing)
- Buildable medium coverage (not one-layer full coverage)
- Hydrating formula if your skin trends dry
- Matched to your jaw, not your cheek
- Applied with a damp sponge in two thin layers
- Set only in the t-zone, never all over
Get this right, and most “mature skin foundation problems” disappear regardless of which specific brand you use. Get this wrong, and the most expensive foundation in the world will still cake.
If you want this taught with full demonstration, the Paula Callan Masterclass covers it thoroughly in the base application modules — including how the technique varies for different mature skin types. It’s the cleanest treatment I’ve found, and the techniques translate directly whether you’re working on your own face or building a working artist’s skill set.