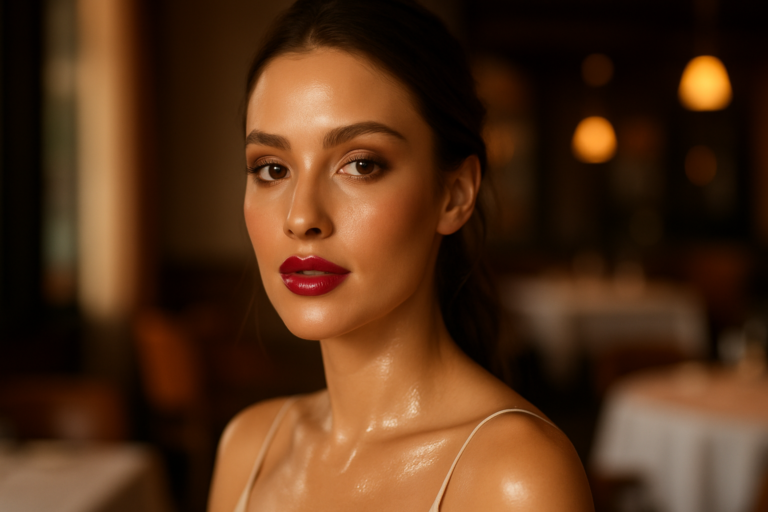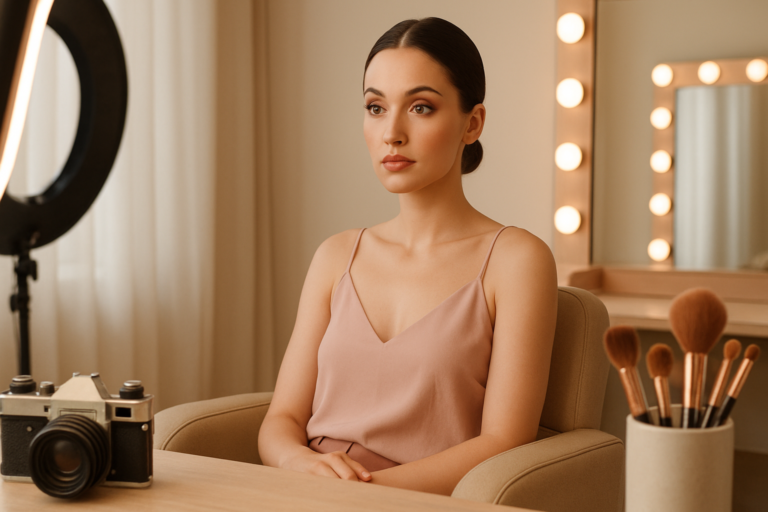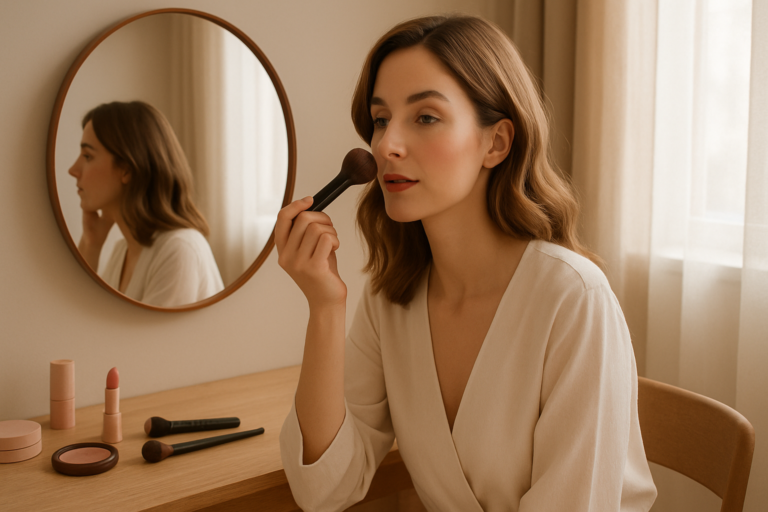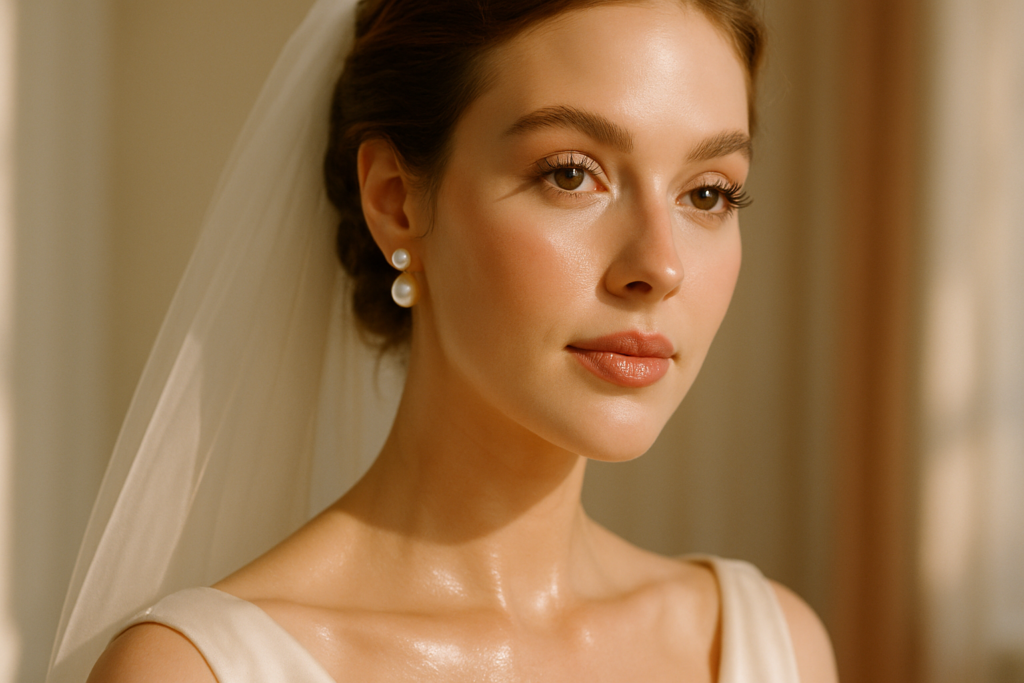
Wedding guest makeup has a specific brief: look photograph-ready for the ceremony, survive cocktails, hold through dinner, photograph well during speeches, and ideally still look polished at the after-party. That’s 8-12 hours of wear, multiple lighting transitions, and probably some emotion-induced sweating during the vows.
Working bridal artists handle this for paying clients. The techniques translate directly to your wedding guest face — same principles, slightly less production.
Here’s how to do it properly.
Why wedding makeup is harder than most
Three specific challenges:
1. The duration. Most everyday makeup is built for 6-8 hours. Wedding day events run 10-12 hours from arrival to leaving. Your makeup needs to be built for the longer timeframe.
2. The lighting transitions. Outdoor ceremony in natural light → indoor reception with warm tungsten → photographs with flash → possibly outdoor evening photos. Makeup that looks good in one context can look wrong in another.
3. The photo documentation. You will be photographed many times, often without warning. Your makeup needs to be photo-ready at any moment, not just for the planned formal photos.
The everyday makeup routine isn’t built for any of these. The wedding guest routine has to address all three.
The full wedding guest routine
Total time: 25-35 minutes. This is roughly the time a bridal artist spends on a client.
Phase 1: Extended skin prep (10 minutes)
This is where wedding-day makeup is made or broken. The full prep:
Cleanse properly (1 minute) — Don’t skip even though you cleansed in the morning.
Hydrating essence + hyaluronic acid + face mist (2 minutes total, layered) — Build maximum moisture into the skin before anything else.
Vitamin C serum (1 minute application + 90 seconds wait) — Even on wedding day, this matters. It evens skin tone and gives the brightening effect that translates to camera.
Eye cream specifically (1 minute) — Apply gently under eyes and at outer corners. This step is often skipped but the under-eye area is the most photographed and most likely to crease.
Moisturiser (1 minute application + 3 minutes wait) — Generous amount, pressed in. The 3-minute wait is the most important minute of the day.
Sunscreen — non-flashback formula only (1 minute) — Critical for outdoor ceremonies. Use chemical sunscreen, not physical, to avoid flashback in photos.
Phase 2: Base in three thin layers (8 minutes)
Three layers, not two. The extra layer is what makes the difference between makeup that holds 8 hours and makeup that holds 12.
Layer 1: Foundation applied with damp sponge to centre of face. Pressed, not dragged. Wait 90 seconds.
Colour correcting between layers: Peach concealer under eyes for darkness, green concealer on any redness areas. Use sparingly.
Layer 2: Foundation applied again where needed, slightly heavier in areas that need coverage. Wait 90 seconds.
Concealer: Spot apply over blemishes, brighten under eyes with a slightly lighter concealer (NOT 2-3 shades lighter — that ages photos).
Light dust of powder ONLY on the t-zone: A small fluffy brush, tiny amount. Don’t powder cheeks or under eyes.
Phase 3: Colour application (8 minutes)
This is where you’d typically rush. Don’t.
Cream blush (1 minute) — Apply along cheekbones, blend up toward temples. Fingers or brush. Use slightly more product than for everyday wear because it’ll fade slightly over 10 hours.
Powder blush over cream (1 minute) — Same colour family, same placement. This is the layering technique that gives wedding-day longevity to your blush.
Eyes (4 minutes for a refined wedding-guest look):
- Eyeshadow primer (essential for this duration)
- Warm taupe across lid
- Slightly darker shade in crease, building up
- Liner along upper lash line (smudged, not a sharp wing)
- Tightline upper waterline
- Curled lashes
- Two coats of mascara
- Optional: individual false lashes at outer corners only
Brows (1 minute) — Filled with hair-like strokes, then set with brow gel.
Cool taupe-grey contour (1 minute) — Subtle sculpting in the hollows of cheeks, jawline, and sides of nose. This is the technique that photographs well.
Learn this from Paula Callan
30 years training celebrity makeup artists. 7 hours of video tutorials, lifetime access, 60-day money-back guarantee. €149.
Phase 4: Lips with longwear technique (3 minutes)
The full longwear lip protocol matters for weddings because there will be food, drinks, conversation, and possibly emotional crying during the vows.
1. Exfoliate lips briefly
2. Apply lip balm, blot off excess
3. Line entire lip with lip pencil (the whole lip, not just outline)
4. Apply lipstick over the pencil
5. Blot with tissue
6. Reapply lipstick
7. Optional: dust with translucent powder through a tissue (this is the 12-hour wear trick)
For wedding guest specifically:
- Choose colours slightly deeper than your everyday lip
- Avoid pure red (transfers visibly on everything)
- Mauves, rusts, deeper pinks photograph beautifully
Phase 5: Final setting (3 minutes)
The setting protocol for 10+ hour wear:
Setting spray (heavy): Mist generously, let dry completely. Then mist again. Let dry again.
Final highlighter touches: Liquid or cream highlighter on top of cheekbones, bow of upper lip, inner eye corners. This stays bright through the entire event.
A final very light mist of setting spray to lock the highlighter in.
Wait 2-3 minutes before doing anything else. The full set is what allows the makeup to actually hold.
The wedding-day clutch
What to bring for touch-ups (small bag fits in any clutch):
- Lipstick (the same one you applied — most important touch-up)
- Blotting papers (not powder — papers absorb without adding bulk)
- Mini setting spray (some brands make travel sizes)
- Small mirror
- Tissue for blotting and touch-ups
- Cotton swab for fixing eye makeup if it migrates
Don’t bring: full foundation, full powder compact, eyeliner, complete makeup bag. If your face needs major touch-ups, your prep failed; touch-ups won’t save it.
What bridal artists do differently for the bride
If you’re going to be a working bridal makeup artist (or you’re doing a friend’s wedding makeup), the bride’s makeup differs from the guest version in specific ways:
What changes for the bride
Longer prep — Bridal prep is 15+ minutes, not 10. Includes lash and brow shaping, more elaborate skincare layering, possibly facial massage to reduce puffiness.
Trial appointment 4-6 weeks before — A test run with the actual products in actual lighting. This is when you discover whether the look works and what to adjust.
Multiple lipstick layers — Bridal lipstick has to survive vows, kissing, crying, eating, drinking, dancing, photos. The longwear protocol is applied with extra reinforcement.
Eye makeup with backup waterproof products — Vows commonly involve crying. The eye makeup needs to be waterproof for the ceremony portion at minimum.
Trial-tested lighting — The artist tests under different lighting before the wedding day to ensure no flashback or colour issues.
Touch-up appointment after ceremony — Most brides budget for a 10-minute touch-up between ceremony and reception. The artist either stays for this or leaves a touch-up kit with specific instructions.
What’s the same
Same skincare layering. Same foundation technique. Same cream-plus-powder blush. Same cool taupe contour. Same setting spray protocol.
The bride’s makeup is essentially the wedding guest face turned up by 30%, with more redundancy built in for the specific failures that weddings cause.
Get the Becoming a Makeup Artist guide
The honest career roadmap — training options, realistic timelines, first-kit budgets, and how to know if this path is right for you.
Common wedding guest makeup mistakes
These are the patterns that show up in wedding photos as regrets:
Going too matte. Matte everything reads as drying and aged in wedding photos. Strategic shine on cheekbones, lid centres, and lip bows is essential.
Heavy contour. Brown contour, applied in stripes, looks muddy in photos. Cool taupe-grey, applied subtly, is what works.
Frosty highlighter. Pearl-shimmer highlighters photograph as oily. Use champagne-toned liquid or cream highlighters with subtle shimmer.
Heavy powder. Powders photograph as chalky. Light setting only, in t-zone only.
Statement lipstick that smudges. Red and dark berry lipsticks look beautiful but transfer onto everything. Either commit to constant touch-ups or choose a colour that won’t show transfer.
Skipping the test photo. Before leaving the house, take a flash photo of your face on a smartphone. Look for flashback, settled foundation, or any issues. Fix before going.
The bottom line
Wedding guest makeup is closer to bridal technique than to everyday makeup. The 25-35 minute routine, with proper layering and setting, produces makeup that holds 8-12 hours through the full event and photographs beautifully throughout.
The techniques that matter most:
1. Extended skin prep (10 minutes minimum)
2. Foundation in 3 thin layers
3. Cream blush + powder blush in same place
4. Cool taupe-grey contour (not brown)
5. Full-lip liner before lipstick
6. Double-pass setting spray protocol
7. No-flashback SPF formula
Get these right and your wedding photos will look exactly like you wanted them to.
For aspiring or working bridal makeup artists, the wedding guest face is essentially the simplified version of bridal work — same techniques, less production. The Paula Callan Masterclass has particularly strong content on the bridal-specific techniques. Worth studying if this is the direction you’re heading.