Skin prep is what working makeup artists spend the most time on, and what consumer beauty content covers the least. The 6-minute prep below is essentially the bridal prep routine used by professional artists — adapted slightly so you can do it on yourself.
It’s the difference between makeup that lasts and makeup that doesn’t. It’s also the difference between makeup that photographs well and makeup that doesn’t. Worth six minutes.
Why six minutes specifically
Six minutes is the threshold below which most active steps don’t have time to do their job. Above six minutes, you get diminishing returns. The bridal-prep version professionals use is 8-10 minutes for client work; the self-applied version compresses to six.
This isn’t an arbitrary number. It’s three minutes for the skincare to actually penetrate, plus three minutes of active application time.
The six-minute breakdown
The actual structure:
Minute 1: Cleanse
Minute 2: Hydrating prep (essence/toner + hyaluronic acid)
Minute 3: Treatment (vitamin C OR colour-correcting hydrator)
Minute 4: Moisturiser + primer
Minute 5: WAIT (this is non-negotiable)
Minute 6: Final smoothing + sunscreen if going outside
Each minute has specific work. Here’s exactly what to do in each.
Minute 1: Cleanse properly
Not a quick splash. A proper cleanse with a gentle product, massaged into skin for 30-45 seconds, then rinsed thoroughly.
Why this matters: residue from sleep, sweat, and any night products can sit on the surface and create a barrier between your prep and your skin. Foundation applied over un-cleansed skin always looks worse.
Best products:
- CeraVe Hydrating Cleanser (€14)
- La Roche-Posay Toleriane Cleanser (€18)
- The Inkey List Oat Cleansing Balm (€10) for dry skin
Massage in circular motions for at least 30 seconds. Pat dry — don’t rub.
Minute 2: Hydrating prep
This is the step that decides how the rest of the prep performs. Apply a hydrating essence or toner, then immediately layer hyaluronic acid serum on top.
The order matters: essence first (to soften skin), then HA serum (to lock water in).
Best products:
- Hada Labo Premium Lotion (€18) — as the essence
- The Ordinary Hyaluronic Acid 2% + B5 (€8) — as the HA serum
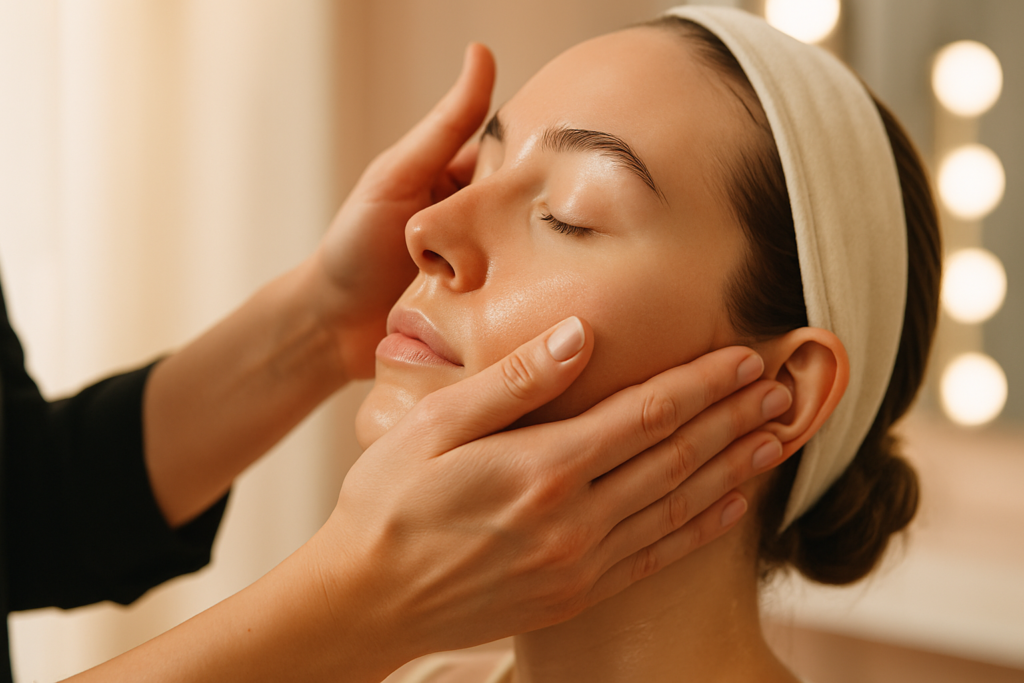
Apply by pressing into skin with hands, not wiping with cotton. Skin should feel plump and slightly tacky after this step.
Minute 3: Treatment
This is where you choose based on what your skin needs that day.
For brightening: Vitamin C serum applied to lightly damp skin. Maelove Glow Maker (€32) or Skinceuticals C E Ferulic (€175).
For redness/colour correction: A colour-correcting hydrator like Erborian CC Crème (€38) or a green-tinted moisturiser like Smashbox Photo Finish Color Correcting Foundation Primer (€38).
For very dry skin: Skip the treatment, repeat the hydrating step from minute 2 with extra HA.
This step is the one most consumers skip. Adding it back in is the single biggest improvement to most prep routines.
Minute 4: Moisturiser + primer
Apply a generous moisturiser, then a small amount of smoothing primer on the t-zone only.
The moisturiser hydrates and creates a hospitable surface. The primer smooths texture in the areas where foundation tends to settle into lines or pores (forehead, sides of nose, chin).
Best products:
- Moisturiser: CeraVe Daily (€16) or Charlotte Tilbury Magic Cream (€80)
- Primer (t-zone only): Smashbox Photo Finish (€38) or e.l.f. Putty Primer (€8)
Why t-zone only: applying primer everywhere creates a uniformly silicon-feeling face that doesn’t catch light. T-zone-only primer fills the texture problem areas without flattening the cheeks.
Learn this from Paula Callan
30 years training celebrity makeup artists. 7 hours of video tutorials, lifetime access, 60-day money-back guarantee. €149.
Minute 5: WAIT
This is the minute everyone tries to skip. Don’t.
For 60-90 seconds, do something else. Brush your teeth. Pick out clothes. Make coffee. Anything that isn’t touching your face.
During this minute, your moisturiser absorbs, your primer sets, and your skin temperature stabilises. Without this wait, foundation applied immediately on top of damp moisturiser will slide, pill, or settle unevenly.
This single minute is what working bridal artists consistently honour and what most consumers consistently skip. It’s the make-or-break difference between makeup that holds and makeup that doesn’t.
Minute 6: Final smoothing + SPF
Run hands gently over your face to feel for any spots where moisturiser is still wet. Press those areas gently to help absorption.
Apply sunscreen if going outside today. Wait another 60 seconds before foundation.
If you’re not going outside, you can skip the SPF — but for most people, daily SPF is non-negotiable for the long-term anti-aging benefit.
What this prep does that “quick prep” doesn’t
Specific improvements you’ll see when you do the full 6-minute prep vs. a 60-second prep:
Foundation looks like skin, not makeup. Properly prepped skin absorbs and holds foundation in a way that makes it disappear into the face.
Concealer doesn’t crease. The hydration step plumps the under-eye area, giving concealer a smoother canvas.
Powder isn’t necessary in the cheek area. Skin is hydrated enough to control oil naturally on cheeks; you only need powder on the t-zone.
Blush blends seamlessly. Cream blush in particular requires hydrated skin to work properly. The prep makes this possible.
Everything lasts longer. 6+ hours of wear instead of 3-4.
Skin photographs better. Properly prepped skin reflects light evenly. Camera flash doesn’t expose dry patches or pore texture.
The same prep for client work
For working makeup artists, this 6-minute prep extends to 8-10 minutes because of the client unknowns:
- Add a double cleanse step (oil cleanser, then water cleanser). Don’t trust that the client cleansed properly.
- Test products on the inner wrist or jaw for sensitivity before applying.
- Use fragrance-free, dermatologist-tested products only. Don’t expose clients to allergens.
- Add more wait time between steps because you don’t know how reactive the skin is.
- Use a primer suited to skin type rather than one fixed product.
A bridal client face built on this prep will hold 10-12 hours through a full wedding day. The same client with rushed prep won’t make it to the reception without retouching.
Get the Becoming a Makeup Artist guide
The honest career roadmap — training options, realistic timelines, first-kit budgets, and how to know if this path is right for you.
How to test if your prep is working
A simple test:
Apply your prep today. Then immediately apply foundation. Check at 11am, 2pm, and 6pm.
If the foundation looks the same at 6pm as it did at 9am: your prep is working.
If the foundation is creasing, sliding, or settled into pores by 2pm: your prep wasn’t sufficient.
You can iterate on this. Add more hydration. Wait longer between steps. Try a different moisturiser. The variables are limited; one of them is the issue.
Common prep mistakes to avoid
These are the patterns that working artists see in consumer prep that don’t work:
Skipping the wait time. The 60-90 seconds between moisturiser and foundation is the most important minute of the whole routine. Don’t skip it.
Over-priming. Primer everywhere creates a silicon-y feel that doesn’t catch light. Use primer only where texture is uneven.
Using too little product. A pea-sized amount of moisturiser for the whole face isn’t enough. Use generously.
Using hot or cold water for cleansing. Lukewarm only. Temperature extremes irritate skin and cause redness.
Massaging too aggressively. Pressing and patting, not rubbing or pulling. Mature skin especially doesn’t need aggressive handling.
Combining products incorrectly. Apply hyaluronic acid on damp skin. Apply retinol on dry skin. Get these reversed and they don’t work.
The bottom line
Six minutes of proper skin prep is the single biggest improvement most people can make to their makeup routine. It changes how products perform, how long they last, and how the final face looks.
For consumers: do this in the morning before makeup. Six minutes, every day. You’ll never want to skip it once you see the difference.
For aspiring or working makeup artists: this prep IS your competitive advantage. The artists who prep well get clients who book again. The artists who rush prep get clients who don’t.
The full pro-level prep technique, with adjustments for different skin types and event lengths, is covered thoroughly in the Paula Callan Masterclass. It’s the foundation that everything else in her teaching builds on — and the part most accessible online makeup education skips entirely.